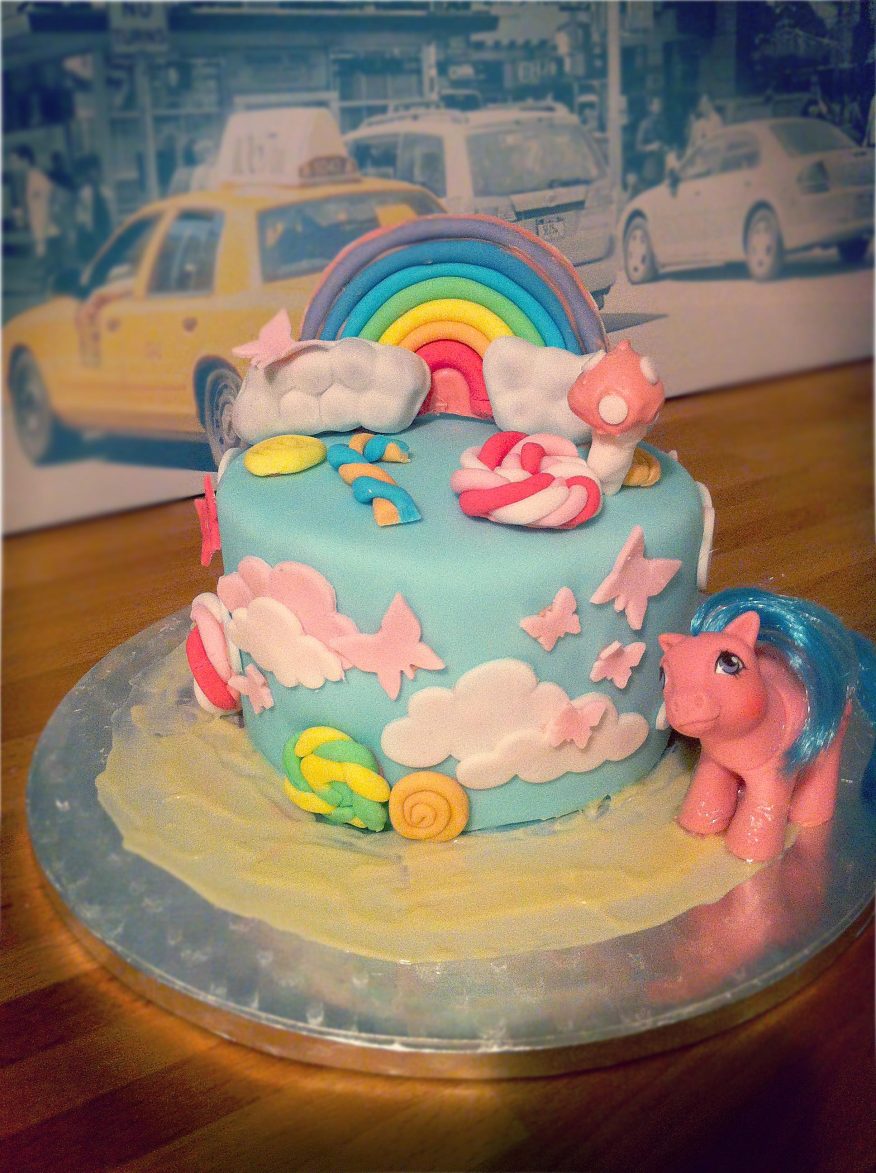
What’s more girly than „my little pony“? That is why I thought a my little pony cake would be perfect for my friend’s baby shower.
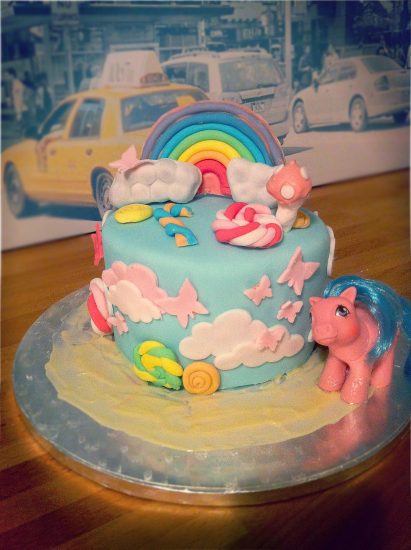
I would love to provide you with a step by step tutorial but unfortunately I cannot remember all the steps as I made the cake a couple of month ago (didn’t have time to write the blog post…)
Nevertheless, I will write down as much as I remember. So let’s get started:
The Cake
First things first. To make the cake you need a good vanilla cake recipe. I used „Best Vanilla Cupcake Recipe“ by CherrylanesCupcakes on Youtube. Ok, technically this is not a cake recipe but hey, it turned out nicely.
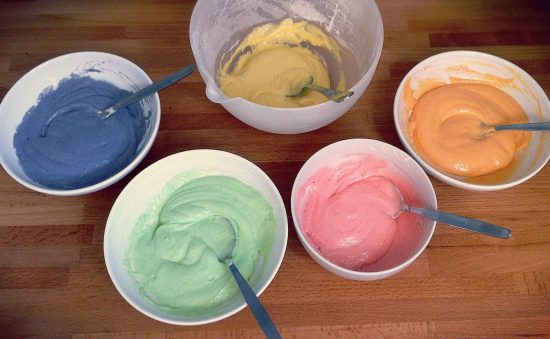
Next, you need to color the dough. I divided it into 5 containers and colored it using gel food colors. To bake my cake I put the dough into five 6-inch (15 cm) cake pans and baked it at 350° F (180°C).
The Filling
I decided to use white chocolate ganache for filling and for coating. The recipe I used is by MyCupcakeAddiction „Make Whipped White Chocolate Frosting – Easy Whipped Ganache Recipe“ on Youtube.
Torting
The cake should now be completely cooled before you try to carve it. Using a serrated knife cut off any caramelization to reveal the colors. Then level the cakes. Put a little ganache between the layers and stack them.
Add a crumb coat using more of the white chocolate ganache. Let everything set in the fridge for about 15 minutes.
Decorating
Knead white fondant until pliable. Color it using gel food coloring and shape it by hand and with cookie cutters. Tightly cover it with cling wrap to prevent the fondant from drying out.
To cerate the rainbow roll out some white fondant and cut it into a halve circle. Meld some pink candy melts and spread them on top of your fondant circle. Now stick some rainbow colored fondant-sausages into the candy melts. Let everything set for 10 minutes. Then, carefully insert 2 wooden skewers and let the rainbow harden for at least 2 hours.
Final Touches
The cake should by now have set. If the ganache crumb coat doesn’t stick to your finger when lightly touching, you are ready for the next step.
Spread some more ganache onto your cake and smooth it out. (Try to get it as smoothe as possible.)
Roll out some baby-blue fondant and cover the cake with it. Glue the decorations you made with a little water or ganache to your cake and insert the rainbow.
For my cake I included one of my old original my ponys (yeah….it is about 25-30 years old…). For sanitary reasons I wrapped its legs into some cling wrap so that the old plastic didn’t touch anything edible.
Here is another photo of the already cut cake.

What do you think of it?
A last tip: The cake was a little “heavy”. Next time I would definitely just use ganache on the outside and use a lighter filling. Moreover I would color the layers a little more as the colors tend to fade while baking.

ist Ernährungswissenschafterin und Mutter einer kleinen Tochter. Seit 2009 ist sie spezialisiert auf Beikost, Baby- und Kinderernährung sowie auf eine ausgewogene Ernährung in Schwangerschaft und Stillzeit.

